In today's post, I'll be sharing 3 simple ways to apply eyeshadows so that you will be able to handle any palettes that you purchase. So if you are keen to learn more, keep on reading!
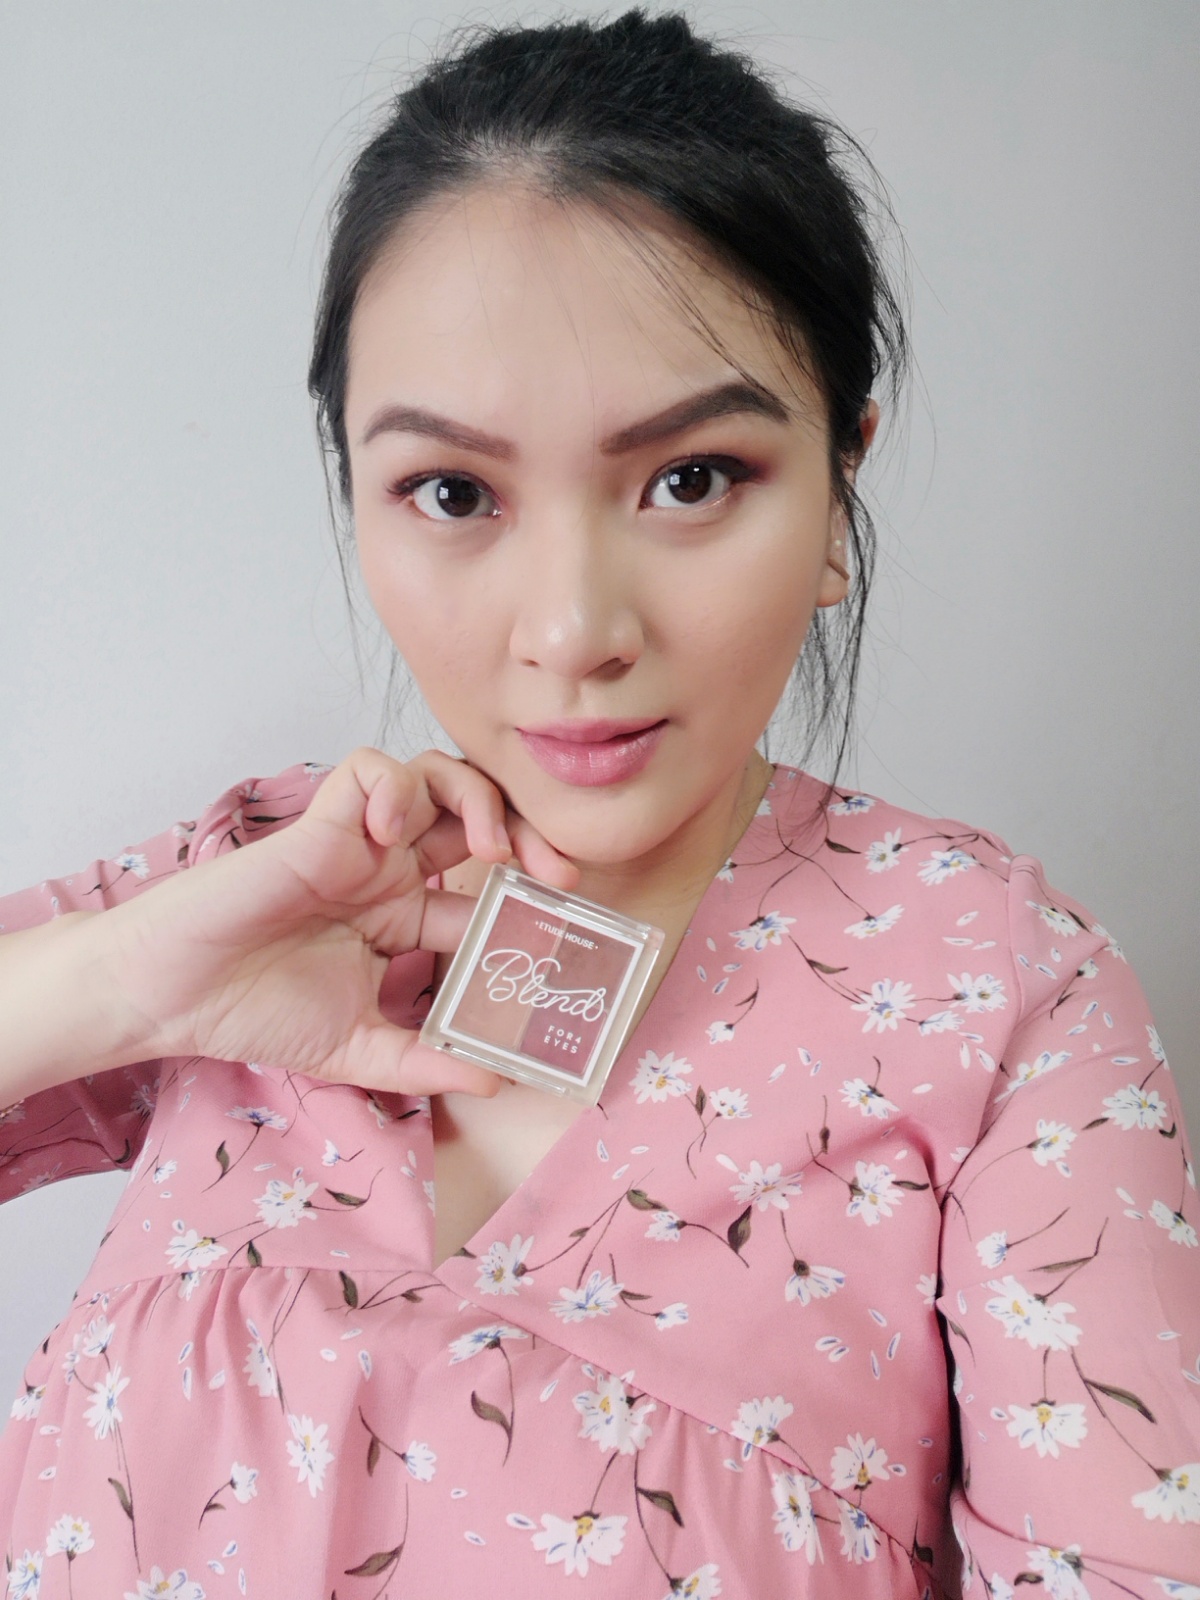
The eyeshadow palette that I'll be using today is the Etude House Blend For Eyes in #1 dried rose. Autumn is coming and I feel that this is the perfect palette for the fall season. It is a warm tone palette with 2 shimmers and 2 matte shades. A perfect palette for beginners because it is very blendable and buildable and the pigmentation is good. But I do experience a little fall outs with the shimmer shades, especially the brown one so do be careful when you are applying.
 |
| Swatching the shades |
Always start with the lightest shade in the palette.

Apply the lightest shade on your entire eye lid, bringing it up to your brow bone. You can either do this with your finger or a big fluffy eyeshadow brush. For me, since I'm applying it to a big area, I always go with finger.

You don't have to go for a second layer because this is just the base colour.
Next, go for the second lightest shade in the palette. For this Etude House Dried Rose palette, you can either choose the pink shimmer shade or the maroon matte shade which I went for the latter.


For this second shade, I applied it with a flat eyeshadow brush and I applied it to my eye lid, bringing it up to the crease. For this second shade, you can do a second layer if you want to darken the colour, thus increasing the contrast.


For the third and final shade, go for the darkest colour in the palette and apply it as close to your upper lash line as possible with an eyeliner brush. Once you've done so, you can smudge it out with a fluffy brush. And your first eye look is completed.

Second way


So for the second way, we will go for the middle shade in the palette as the first colour and apply it on the upper eye lid, starting from the outer corner and slowly blending it in towards the centre. You can darken the colour by applying a second layer.


For the second and last colour of this look, go for a colour that is slightly lighter than the first shade, also preferably a shimmer one, if possible. Apply it to the upper lid, starting from the inner corner and slowly blending it towards the centre. Use a blending brush to blend out the harsh ends and your second look is completed. This look is sweeter and is very suitable for first date or even job interview.

Third way
Last but not least, using the same shades as the second look, we can create another look that is more of the American style.


Apply the first colour to the upper eyelid, starting from the outer corner, blending it in. Bring the excess of the colour on your brush to the lower lash line as well, focusing only on the outer quarter. Next apply the same shade to the upper eyelid, this time starting from the inner corner. Make sure you leave the centre empty for the second shade.


Like the second look, for the second shade, go for a lighter yet shimmer shade and apply it directly with your finger to the centre of the upper eyelid. You may also want to apply it to the lower lash line, focusing on the inner 3 quarter. To make the contrast stronger, you can repeat the 2 steps again so that the colours are more obvious. Do make sure to blend out any harsh edges while doing so. And tada, the third look is completed.

So that's all I have for this post, I hope you have learnt something useful here and have fun experimenting with your eyeshadow palettes on your own! Please follow me if you haven't already and I'll see you in my next post, xoxo.
No comments:
Post a Comment